The lineGrip rigging/tensioning technique [man] [vid]
The lineGrip rigging/tensioning technique [man] [vid]
Tensioning a slackline with the lineGrip differs from conventional techniques in two main points:
1. The attachment point of the tensioning system to the webbing is flexible (movable)
2. The tensioning system can be removed from the slackline after it is rigged
This opens up countless possibilities, that are unthinkable without the lineGrip.
Due to the movable attachment to the webbing you can reset the attachment point (the lineGrip) and re-extend the tensioning system as often as needed, until the desired webbing tension is reached. This will reduce the needed length of the tensioning system to a minimum, without limiting the possible rigging length of your webbing. Generally 2-3m working length is sufficient for the tensioning system.
Since you can remove the tensioning system from the rigged slackline, you can use it to rig another line. This eliminates the need to have multiple tensioning systems available to rig multiple lines.
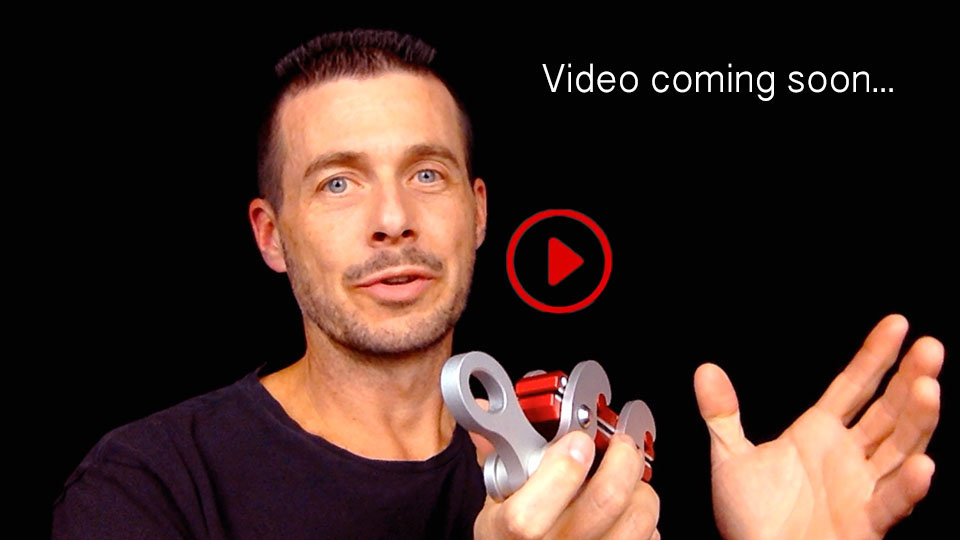
The lineGrip technique is basically quite simple and logical. Nevertheless, there are a few little tricks, that will help make some things a bit easier in the beginning.
You would, undoubtedly, discover these tricks yourself, after using the lineGrip for a while, but why bother?
Check out the video and use the lineGrip like a pro right away 😉
Pre-Tensioning Safety Checks
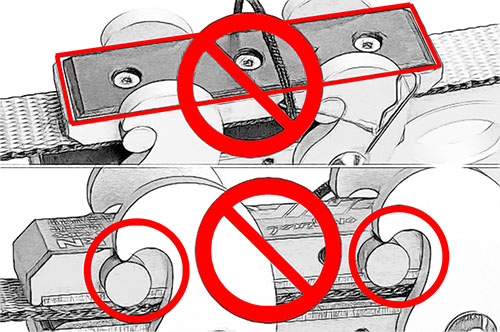
Safety Check 1
Before loading the lineGrip, please double check that the rubber is facing the webbing and the pegs latch properly into the hooks!
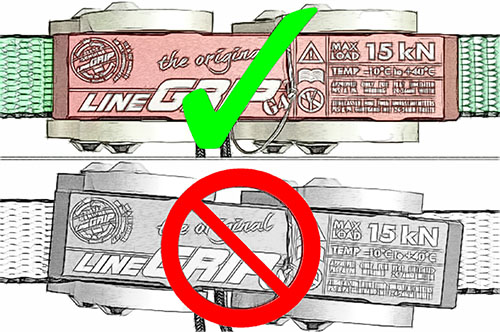
Safety Check 2
Ensure parallel alignment with the slackline!
The lineGrip Tensioning Process
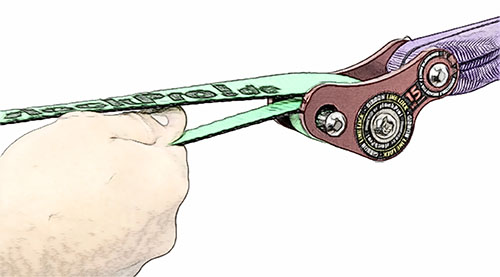
Step 1
Attach the slackline to the anchor points by means of appropriate anchor/fixation devices (web locks), and pretension by hand as well as you can easily handle.
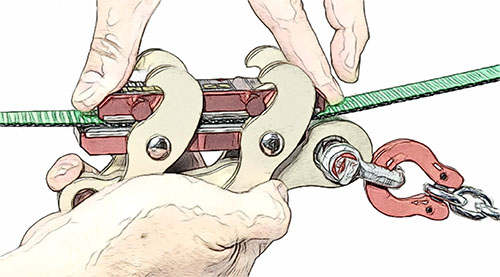
Step 2
Attach the lineGrip preferably first to the webbing and then to the tensioning device to facilitate an untwisted connection (make sure that the ropes or chain is not twisted).
Important: Ensure proper latching of the hooks!
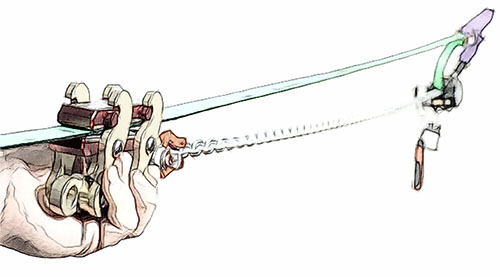
Step 3
Unlock the tensioning device, and move the lineGrip away from the anchor as far as possible, until the tensioning device is fully extended.
Caution! Risk of injury:
Keep hands clear of the hooks when releasing the load bracket!
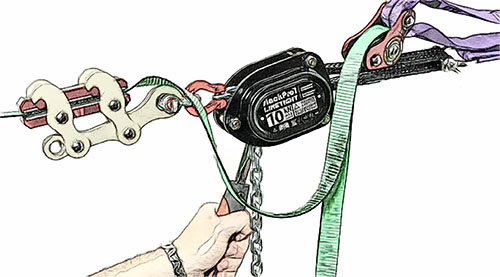
Step 4
Now tension the slackline.
While tensioning, remember to frequently(!) haul in the slack webbing between the lineGrip and the anchor to back up the lineGrip! Failing to do so, greatly increases the risk of damage or injury in case of slippage.
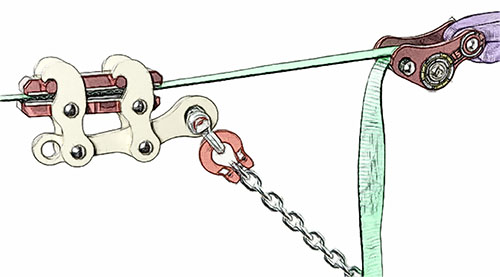
Step 5
When the tensioning device is fully contracted, remove all slack between the lineGrip and the web lock (as tight as possible). Then slowly release the tensioning device so the load of the system is transferred gently onto the webbing locker.
If applicable, repeat steps 3-5 as often as required (until the desired webbing tension is reached).
Finally
Remove the lineGrip from the webbing and you’re done 🙂
Note: Always backup your anchors!
IMPORTANT! The lineGrip is for tensioning slacklines, not for anchoring!
The lineGrip must always be removed from the webbing before walking the slackline!
REMEMBER: while tensioning, always keep the lineGrip backed up with minimal slack!
